First Aid Bandage Guide: Essential Tips for 2026
In an emergency, knowing how to use a first aid bandage can mean the difference between a quick recovery and a complicated wound. As we move into 2026, awareness of safety at home and in the workplace has never been higher.
Proper use of a first aid bandage is essential for everyone, not just medical professionals. Understanding the latest types, applications, and innovations ensures you are prepared for any minor injury or accident.
This guide offers practical tips and expert advice to help you handle injuries with confidence. Whether you are at home, at work, or on the go, learning key first aid bandage skills can protect both you and those around you.
Inside, you will find essential tips, step-by-step instructions, and up-to-date insights for choosing and applying first aid bandages. Get ready to discover the latest bandage types, selection strategies, application techniques, care tips, new innovations, and must-have supplies.
Understanding First Aid Bandages: Types and Uses
A first aid bandage is a fundamental tool in wound care, designed to protect injuries, absorb fluids, and support healing. Whether at home, work, or outdoors, knowing how to choose and use a first aid bandage can make a significant difference in recovery. These bandages serve as the first line of defense against infection while promoting a safe healing environment.
What Are the Main Types of First Aid Bandages?
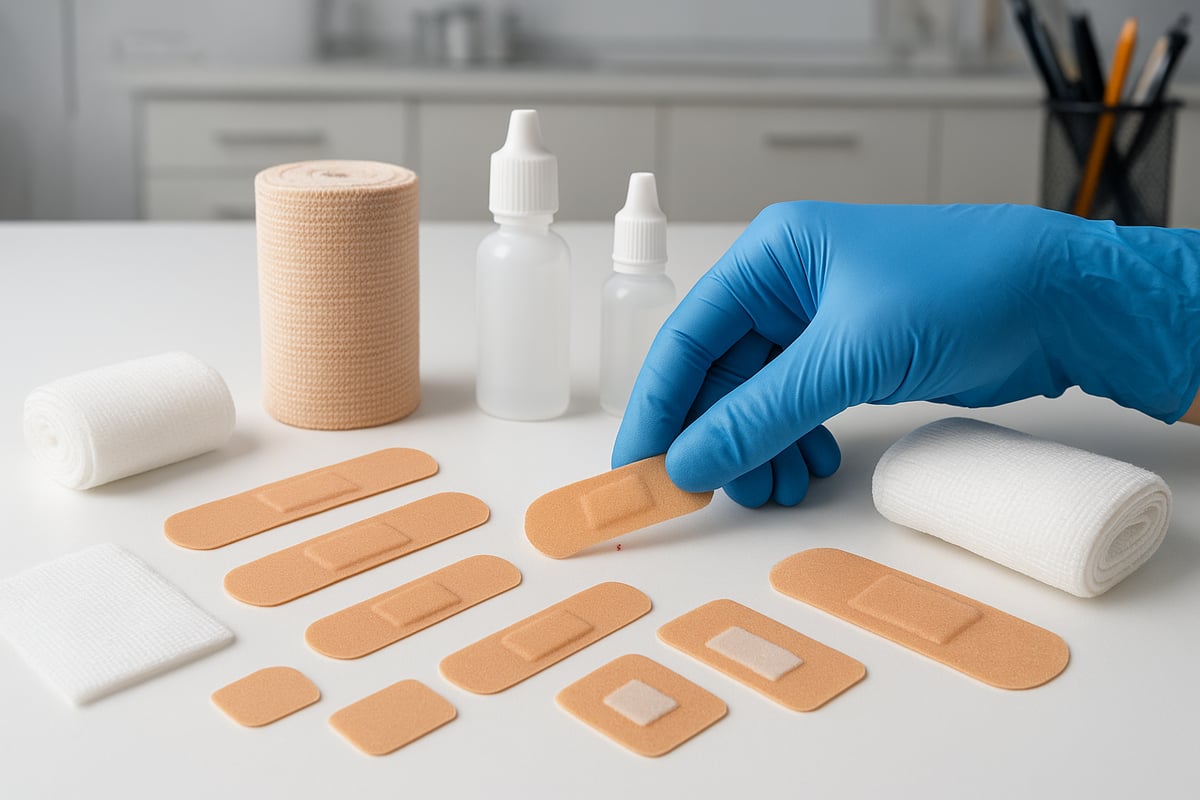
There are several key types of first aid bandage, each tailored for specific injuries:
- Adhesive Bandages: These include strips, spots, knuckle, and fingertip shapes. They are ideal for minor cuts, scrapes, and small abrasions, providing a quick barrier against dirt and bacteria.
- Gauze Pads and Rolls: Used for larger wounds, punctures, or abrasions that may bleed more. Gauze can be layered and secured with tape or wraps for additional absorption.
- Elastic or Crepe Bandages: These provide support for sprains or strains and help reduce swelling by compressing the area.
- Pressure Bandages: Designed for heavy bleeding or trauma, these apply direct pressure to control blood loss. For deeper insight into this specialized first aid bandage, see Israeli bandage essential facts.
- Liquid Bandages: Useful for small, hard-to-bandage cuts or areas that move frequently, such as knuckles or joints. They form a flexible, waterproof seal.
- Specialized Bandages: Burn dressings, hydrocolloid, and waterproof bandages are designed for unique situations, like burns or blisters.
When Should You Use Each Bandage Type?
| Bandage Type | Best For | Example Scenario |
|---|---|---|
| Adhesive Strip | Minor cuts, abrasions | Paper cut at work |
| Gauze Pad | Moderate bleeding, larger wounds | Kitchen knife injury |
| Elastic Bandage | Sprains, joint support | Sports ankle sprain |
| Pressure Bandage | Severe bleeding | Workshop accident |
| Liquid Bandage | Small, mobile-area wounds | Finger tip cut |
| Burn/Hydrocolloid | Blisters, burns | Hiking blister |
Why Material and Ventilation Matter
The material of a first aid bandage affects comfort, healing, and effectiveness. Fabric bandages are flexible and breathable, making them suitable for active areas. Plastic bandages offer better water resistance but may be less comfortable during long wear. Waterproof options are ideal for swimming or outdoor activities.
Latex-free and hypoallergenic choices are essential for those with sensitivities. Always check for these features to avoid allergic reactions. Modern first aid bandage designs often include ventilated backings and non-stick pads, which help wounds heal faster by allowing airflow while keeping the area protected.
Proper ventilation is particularly important for preventing moisture buildup, which can slow healing or increase the risk of infection. For joint or moving areas, stretchable bandages provide a secure fit without restricting movement.
Real-Life Examples and Common Mistakes
Imagine a workplace incident where a box cutter causes a deep finger cut. Applying a gauze pad and securing it with an elastic bandage can control bleeding and protect the wound. Outdoor accidents, like a scraped knee while hiking, benefit from waterproof or hydrocolloid bandages to shield against dirt and friction. In the kitchen, a first aid bandage can quickly cover a minor burn or cut, preventing contamination while cooking.
According to recent data, adhesive bandages are the most frequently used item in both home and workplace first aid kits. However, common mistakes include choosing the wrong type of first aid bandage, which may slow healing or even cause infection. For example, using a regular adhesive strip on a heavily bleeding wound is less effective than a pressure bandage.
To avoid complications, always match the bandage to the injury and check for fit, material, and breathability. This approach ensures you get the full benefit of your first aid bandage, regardless of the situation.
How to Choose the Right Bandage for Any Situation
Selecting the right first aid bandage is crucial for effective wound care and faster healing. The choice depends on the nature of the injury, the environment, and individual needs. Let us break down the process into clear, actionable steps so you can make informed decisions every time.
Assessing the Wound: What to Look For
Start by carefully examining the injury before choosing a first aid bandage. Consider the size, depth, and location of the wound. Is it a small surface cut, a deep puncture, or a joint injury?
Look for the amount of bleeding. Minor scrapes and shallow cuts typically need minimal coverage, while larger wounds or those with significant bleeding require more absorbent materials and secure coverage.
Also, check if the area is prone to movement or moisture. Wounds on fingers, knees, or elbows may need flexible or waterproof options to stay in place during daily activities.
Matching Bandage Type to Injury and Environment
Different injuries call for specific types of first aid bandage. Here is a quick reference table to help you decide:
| Injury Type | Recommended Bandage | Features to Prioritize |
|---|---|---|
| Minor cuts/scrapes | Adhesive strips | Breathable, hypoallergenic |
| Large wounds/bleeding | Gauze pad + pressure | Absorbent, secure hold |
| Sprains/joint injuries | Elastic bandage | Stretchable, adjustable |
| Small, hard-to-cover | Liquid bandage | Waterproof, flexible |
| Burns/blisters | Hydrocolloid/burn pad | Non-stick, soothing |
For sensitive skin or allergies, always select a latex-free first aid bandage. Hypoallergenic options help prevent rashes or irritation. If the wound is exposed to water, such as during swimming or outdoor activities, waterproof bandages offer protection and maintain adhesion.
Modern bandages come in various materials—fabric for flexibility, plastic for water resistance, and advanced hydrocolloids for moist healing. Choose the type that best suits both the injury and your environment.
Bandage Selection for Home, Work, and Travel
The right first aid bandage can differ based on where you are. At home, keep a range of adhesive strips, knuckle, and fingertip bandages for everyday mishaps. In the workplace, especially where machinery or tools are involved, stock larger gauze pads, pressure dressings, and elastic bandages for potential sprains or heavy bleeding.
For travel or outdoor adventures, opt for compact, multi-size assortments and waterproof options. According to recent data, 85% of first aid kit users prefer kits with a variety of bandage sizes for versatility.
Regulatory compliance also matters. For workplaces, ensure your first aid supplies meet both OSHA and ANSI standards, which specify the required types and quantities of bandages for safety. You can find more on official requirements in OSHA's First Aid Recordkeeping Guidance, which details the importance of accurate first aid treatment and kit contents.
Stocking Up: Kit Essentials and Example Scenarios
When building your own kit, include enough of each first aid bandage type to handle multiple injuries. For most homes, a mix of 1"x3" adhesive strips, knuckle and fingertip bandages, several gauze pads, elastic wraps, and at least one pressure bandage is recommended.
Scenario examples help illustrate the importance of selection:
- For a kitchen knife cut, use a sterile adhesive strip after cleaning the wound.
- Playground scrapes are best managed with large, breathable bandages or gauze.
- A sports sprain may require an elastic bandage for support and compression.
Keep your kit updated and replace expired items regularly. This ensures every first aid bandage you apply is sterile and effective.
Step-by-Step Guide: Proper Application of First Aid Bandages
Applying a first aid bandage correctly is vital for protecting wounds, preventing infection, and promoting fast healing. Whether you are at home, work, or outdoors, following these steps will help you handle injuries with confidence and skill.
Step 1: Preparing the Wound
Always begin by washing your hands thoroughly with soap and water or using medical gloves. This prevents bacteria from entering the wound during the first aid bandage process.
Next, gently clean the wound with antiseptic wipes or solution. Remove any dirt, glass, or debris using sterilized tweezers if needed. Pat the area dry with a sterile gauze pad or clean cloth. Ensuring a clean wound surface is the foundation for effective bandaging and reduces the risk of infection.
Step 2: Selecting and Opening the Bandage
Choose the right first aid bandage for the wound based on its size, location, and severity. For small cuts, an adhesive strip works well, while larger wounds may require gauze and medical tape.
Before opening, check the bandage packaging for sterility and expiration date. Open the package carefully, making sure not to touch the pad that will contact the wound. Maintaining sterility is critical to prevent introducing contaminants during application.
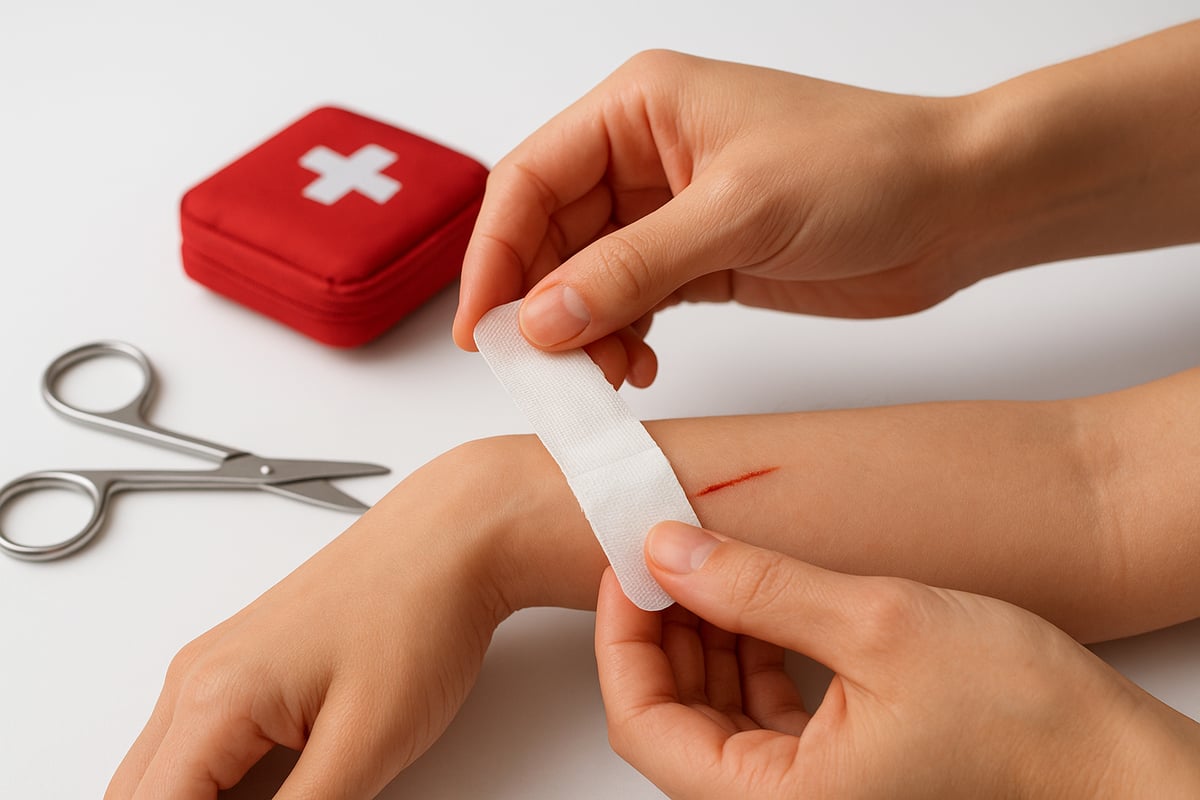
Step 3: Applying the Bandage
Place the non-stick pad of the first aid bandage directly over the center of the wound. If you are using an adhesive strip, press the sticky edges firmly onto the surrounding skin, smoothing out any creases for a secure fit.
For gauze pads, hold them in place with medical tape or a gauze roll, wrapping gently but firmly. Elastic or pressure bandages should be applied with even tension to provide support and control bleeding, but never so tight that circulation is restricted. If you are unsure about wrapping a finger or joint, consider reviewing the 7 steps to wrap a finger wound for detailed guidance.
Always monitor the wound after applying the first aid bandage to ensure it remains covered and secure. Proper application supports healing and minimizes complications.
Step 4: Ensuring a Secure Fit
Smooth out any wrinkles or folds in the first aid bandage to avoid skin irritation. Make sure the wound and a margin of healthy skin are completely covered.
For injuries on joints or areas that move frequently, opt for flexible or stretchable bandages. This allows for normal movement while keeping the bandage in place. A secure, comfortable fit helps the bandage stay put until the next change.
Step 5: Monitoring and Changing the Bandage
Check the first aid bandage regularly for looseness, moisture, or signs of leakage. Change the bandage at least once a day, or sooner if it becomes wet or dirty.
Watch for symptoms like redness, swelling, or increased pain, which may indicate infection. Also, be alert for any signs of allergic reaction, such as itching or rash. Ventilated, breathable bandages are recommended, as they help reduce infection risk and support healing by allowing airflow around the wound.
Always dispose of soiled bandages safely and wash your hands after each change. Keeping up with these monitoring steps ensures the wound remains protected and promotes a faster recovery.
Best Practices for Bandage Care and Wound Healing
Proper care of any wound starts with careful use of your first aid bandage. Keeping the wound clean and dry is essential for healing. Always wash your hands before touching the bandage or wound area. Change the bandage regularly, especially if it becomes damp or dirty.
A clean environment reduces the risk of infection. Gently clean the wound with mild soap or an antiseptic solution before applying a fresh first aid bandage. Avoid using harsh chemicals, as they may irritate the skin and slow the healing process.

Supplemental Products for Optimal Healing
Using additional products can support faster recovery. Many people apply antibiotic ointments or antiseptic creams before placing a first aid bandage. These products help prevent bacterial growth and protect the wound.
Wound closure strips are useful for small, shallow cuts that need extra support. Specialized tools, such as bandage scissors and trauma shears, make it safer to cut or remove bandages without disturbing the healing area. Keep these tools clean and store them with your first aid supplies.
Recognizing Signs of Infection
Monitoring the wound is vital when using any first aid bandage. Watch for these signs of infection:
- Redness or warmth around the wound
- Swelling or increased pain
- Pus or unusual discharge
- A foul odor
If you notice any of these symptoms, seek medical attention. Deep wounds, heavy bleeding, or animal bites always require prompt evaluation by a healthcare professional. Early intervention can prevent complications and support better healing.
How Long Should a First Aid Bandage Stay On?
The length of time you keep a first aid bandage on depends on the wound type. Most minor cuts heal best when covered for 24 to 48 hours. Change the bandage daily or whenever it becomes wet or dirty. For abrasions or burns, follow your healthcare provider’s advice.
There is a common myth that wounds heal faster when exposed to air. In reality, a covered wound protected by a first aid bandage retains moisture, which speeds up tissue repair and reduces infection rates.
| Myth | Fact |
|---|---|
| Wounds should "breathe" | Covered wounds heal faster and reduce infection |
| Change bandages once a week | Change bandages daily or when soiled |
| Any bandage will do | The right first aid bandage improves outcomes |
Preventing Allergic Reactions and Practical Examples
Always choose hypoallergenic or latex-free first aid bandage options if you have sensitive skin or allergies. This simple step can prevent rashes or irritation.
For example, a puncture wound from a nail should be cleaned, covered with a sterile pad, and monitored closely. A surface abrasion, like a scraped knee, benefits from a breathable, non-stick first aid bandage changed daily.
Proper first aid bandage care can reduce infection rates by up to 40 percent, according to industry studies. Following these best practices helps ensure wounds heal quickly and safely.
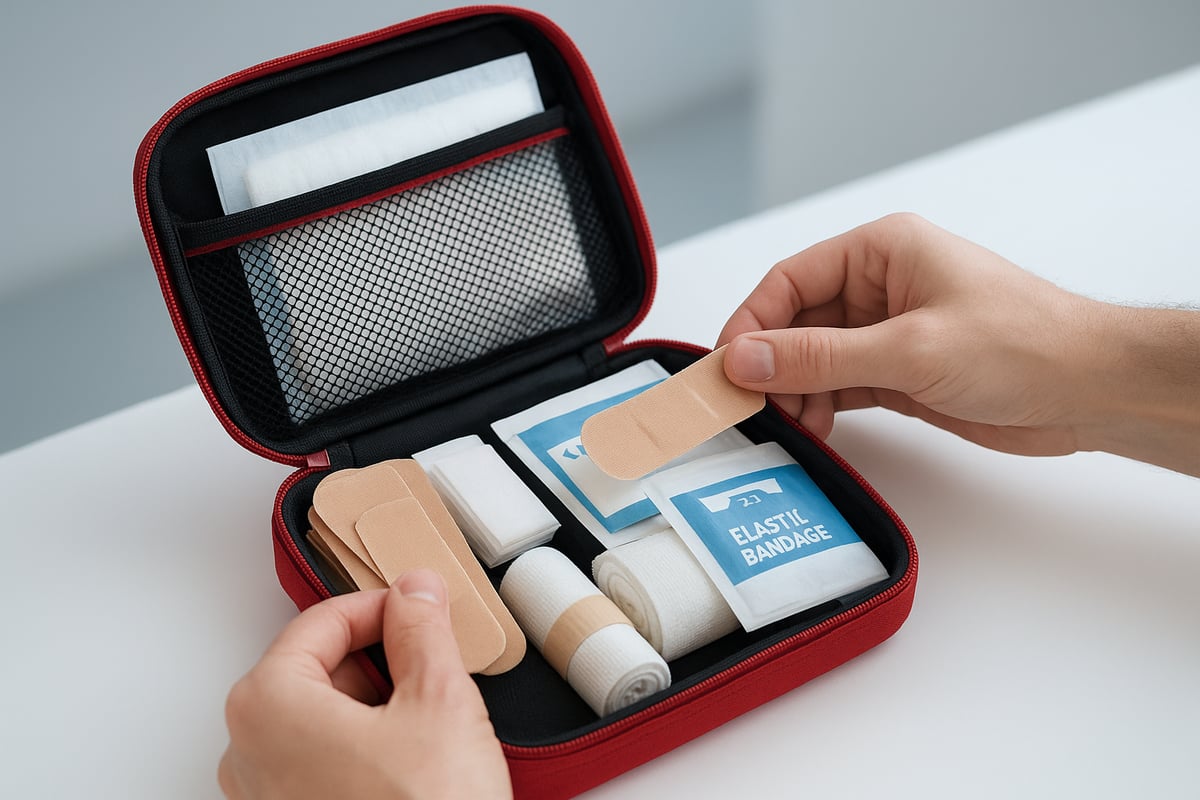
Essential Bandages and Supplies for Every First Aid Kit in 2026
A well-equipped first aid kit is your frontline defense for treating injuries at home, work, or on the go. The right mix of first aid bandage types and related supplies ensures you can manage anything from minor scrapes to more serious wounds with confidence.
Core Bandages for 2026 Kits
Every first aid kit should contain a diverse selection of first aid bandage options. The essentials include:
- Adhesive strips (multiple sizes for flexibility)
- Knuckle and fingertip bandages (for awkward or high-movement areas)
- Gauze pads and rolls (to cover, cushion, and absorb)
- Elastic or crepe bandages (for sprains and support)
- Pressure bandages (for controlling bleeding)
- Liquid bandages (for small or hard-to-cover wounds)
- Burn dressings (to treat thermal injuries quickly)
A recent industry study found that 90% of first aid kits sold in 2025 included at least three different first aid bandage types. This variety is crucial for handling a wide range of injuries.
| Bandage Type | Primary Use | Key Feature |
|---|---|---|
| Adhesive strips | Minor cuts, scrapes | Easy application, various sizes |
| Knuckle/fingertip | Joints, fingers | Shaped for flexibility |
| Gauze pads/rolls | Larger wounds, absorption | Breathable, customizable |
| Elastic/crepe | Sprains, support | Stretchy, reusable |
| Pressure bandages | Bleeding control | High compression |
| Liquid bandages | Small, awkward cuts | Waterproof, seals instantly |
| Burn dressings | Burns, scalds | Cooling, non-stick |
Complementary Supplies
To maximize the effectiveness of any first aid bandage, your kit should also include:
- Antiseptic wipes for cleaning wounds
- Antibiotic ointment to prevent infection
- Medical tape for securing gauze and pads
- Scissors for cutting bandages to size
- Nitrile gloves to maintain hygiene
These items work together to make each bandaging step safer and more effective.
Specialty Bandages for Unique Needs
Modern first aid kits should also feature specialty bandages, such as:
- Waterproof bandages for swimming or outdoor activities
- Food-service detectable bandages for kitchens and restaurants
- Hydrocolloid dressings for blisters or slow-healing wounds
These specialty options provide targeted solutions where a standard first aid bandage may fall short.
Kit Recommendations for Every Environment
The ideal kit contents can vary by setting. For homes, a basic assortment of adhesive strips, knuckle bandages, and gauze pads is often enough. Workplaces should meet or exceed regulatory standards, like those outlined in First Aid Kit Requirements by MIOSHA, which detail required bandages and supplies for compliance.
For families, you can find a step-by-step guide on building a family first aid kit that covers essential first aid bandage choices and other must-haves. Outdoor and travel kits should emphasize waterproof and compact supplies, with extra pressure and elastic bandages for emergencies.
Inspection and Restocking: A Critical Habit
First aid kits are only as good as their contents. Check your kit regularly for expired or depleted items. Many suppliers offer convenient refill packs, making it easy to maintain a ready supply of every essential first aid bandage.
Basic vs. Comprehensive Kits: What’s Best for You?
A basic kit typically contains a handful of adhesive strips, gauze pads, and antiseptic wipes. Comprehensive trauma kits, by contrast, include a broader array of first aid bandage types—pressure dressings, burn pads, elastic wraps, and specialty items—alongside advanced tools and medications.
Choosing the right kit depends on your environment and risk factors. Regardless of your choice, prioritizing variety and quality in every first aid bandage ensures better outcomes in an emergency.
Common Bandaging Mistakes and How to Avoid Them
Proper use of a first aid bandage is essential for safe and effective wound care. Even small errors can slow healing, cause discomfort, or increase the risk of infection. By understanding these common mistakes, you can improve your skills and outcomes.
Most Frequent First Aid Bandage Mistakes
Many people unintentionally make the same errors when using a first aid bandage. Here are the most common pitfalls:
| Mistake | What Happens | How to Avoid |
|---|---|---|
| Using the wrong size or type | Poor coverage, delayed healing | Match the bandage to wound size and type |
| Applying too tightly | Restricted blood flow, swelling | Wrap snugly, not tightly |
| Applying too loosely | Bandage slips, wound exposed | Ensure secure, comfortable fit |
| Not cleaning the wound first | Infection risk | Always clean before applying a first aid bandage |
| Leaving bandage on too long | Skin irritation, infection | Change daily or when soiled |
| Ignoring allergies | Rash, redness, discomfort | Choose latex-free, hypoallergenic options |
| Using expired or non-sterile bandages | Poor protection, infection | Check dates and packaging before use |
One frequent issue is applying a first aid bandage without proper wound cleaning. This can trap bacteria and lead to infection. Another is using a bandage that is too small or not designed for the injury, which may leave parts of the wound exposed.
Real-World Example: Improper Bandaging
Consider a case where someone treats a deep kitchen knife cut using only a small adhesive strip. The wound is not cleaned, and the bandage does not cover the entire area. Over the next days, redness and swelling develop, signaling infection. This could have been prevented by following proper steps and choosing the right first aid bandage.
For best practices on bleeding and wound management, refer to the ANZCOR Guideline on Bleeding Management, which offers expert, step-by-step advice on effective bandage use.
Tips to Educate and Prevent Mistakes
Sharing knowledge about first aid bandage use helps protect family, coworkers, and students. Use these strategies:
- Demonstrate correct application during safety meetings or classes
- Stock a variety of first aid bandage types for different injuries
- Teach the importance of cleanliness and checking for allergies
- Encourage regular kit checks and replacing expired supplies
Innovative solutions, such as smart bandages with sensors, can also assist in monitoring wounds and preventing mistakes. For example, new stretchable sensors for wound monitoring may soon help track healing in real time, reducing risks from improper bandaging.
By staying informed and practicing these tips, you can ensure that every first aid bandage is applied correctly, promoting faster recovery and better outcomes for all.